Have you ever walked down a beautifully landscaped pathway and marveled at the perfectly laid paving slabs beneath your feet? The art of laying paving slabs is a skill that requires patience, precision, and a keen eye for design. From creating intricate patterns to simply adding structure to outdoor spaces, paving slabs have the power to transform any area into a functional and visually appealing environment.
In this article, we will delve into the world of laying paving slabs, exploring the various techniques, tools, and materials needed to create a stunning pathway, patio, or driveway. Whether you are a seasoned DIY enthusiast or a beginner looking to embark on a new project, mastering the art of laying paving slabs is sure to add both value and beauty to your outdoor living space. So grab your gloves and let’s get started on this creative journey!
Choosing the Right Paving Slabs for Your Project
When it comes to , there are a few key factors to consider. First and foremost, you’ll want to think about the overall aesthetic you’re trying to achieve. Do you want a sleek, modern look? Or perhaps something more rustic and natural? Consider the style of your home or outdoor space and choose paving slabs that complement it.
Another important consideration is the size and shape of the paving slabs. Larger slabs can create a sense of space and continuity, while smaller slabs can add texture and visual interest. Think about how you want to lay them – in a traditional straight pattern or perhaps in a more intricate design. Take some time to experiment with different layouts to find the one that works best for your space.
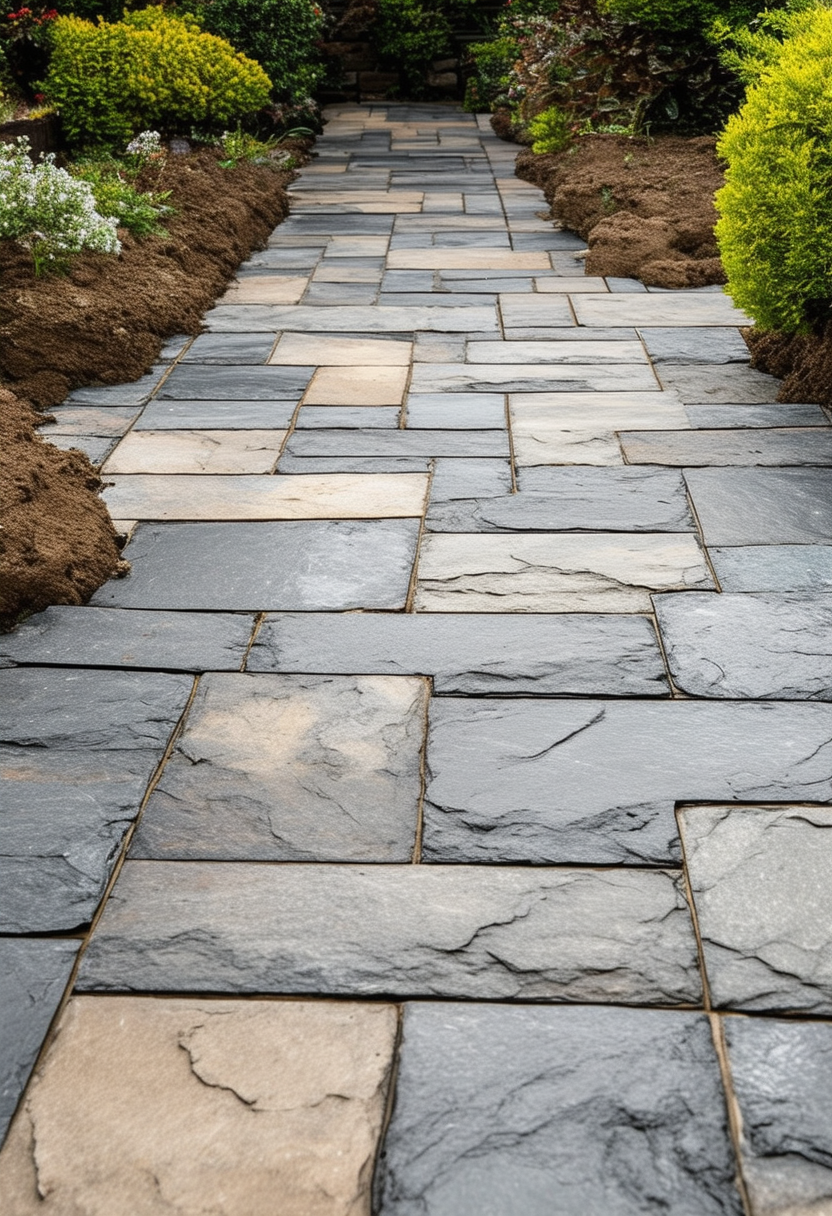
| Material: | Concrete, Natural Stone, Porcelain |
| Color: | Gray, Beige, Blue, Red |
| Size: | 12×12, 16×16, 24×24 |
Lastly, don’t forget to consider the practical aspects of your project. Make sure the paving slabs you choose are durable and weather-resistant, especially if they will be exposed to the elements. Also, think about maintenance – some materials require more care than others. With the right selection, you can create a beautiful and functional outdoor space that will stand the test of time.
Preparing the Ground: Ensuring a Stable Foundation
To create a sturdy foundation for your paving project, it is essential to properly prepare the ground before laying the paving slabs. Start by clearing the area of any debris, rocks, or plants that may obstruct the path of the slabs. This will ensure a smooth and level surface for the slabs to rest upon. Additionally, it is important to compact the soil underneath the area where the slabs will be placed to prevent sinking or shifting over time.
Once the ground has been cleared and compacted, it is time to lay down a layer of sharp sand. This will help to level the ground and provide a stable base for the paving slabs to sit on. Spread the sand evenly across the area and use a straight edge to ensure a smooth and level surface. By taking the time to properly prepare the ground in this way, you will create a foundation that will support your paving slabs for years to come.
After the sand is in place, it is time to lay the paving slabs in your desired pattern. Start at one corner and work your way across the area, placing each slab carefully next to the previous one. Make sure to leave a small gap between each slab for grouting purposes. Once all the slabs are in place, use a rubber mallet to gently tap them into position and ensure they are level. fill the gaps between the slabs with a fine jointing compound to create a seamless and polished finish.
Laying Paving Slabs: Tips for Proper Alignment and Placement
When it comes to laying paving slabs, proper alignment and placement are key to achieving a professional and polished finish. One tip is to start by marking out the area where the slabs will be laid with chalk lines or string to ensure a straight and even layout. This will serve as a guide for the rest of the project.
Furthermore, it is important to prepare the ground properly before laying the slabs. This includes clearing the area of any debris, ensuring the soil is level, and adding a layer of compacted sand or gravel to create a stable base. Taking the time to properly prepare the ground will help prevent any future issues such as sinking or shifting slabs.
When laying the slabs, take care to maintain consistent spacing between each one to ensure a neat and uniform appearance. Using spacers or a spacer tool can help with this process. Additionally, make sure to check the alignment of each slab as you go along to avoid any crooked or uneven lines. By following these tips, you can create a beautiful and long-lasting paved area for your outdoor space.
Finishing Touches: Sealing and Maintaining Your Paved Area
Once you have laid down your beautiful paving slabs, it’s important to take the necessary steps to seal and maintain them for long-lasting durability. Sealing your paved area not only enhances its appearance but also protects it from wear and tear caused by weather conditions and daily use.
Here are some essential tips to help you properly seal and maintain your paved area:
-
- Choose the right sealer: Select a high-quality sealer that is suitable for your specific paving material.
-
- Clean the surface: Before applying the sealer, make sure the paved area is clean and free of any debris or stains.
-
- Apply the sealer: Use a roller or sprayer to evenly coat the surface with the sealer, following the manufacturer’s instructions.
| Sealing Schedule | Frequency |
|---|---|
| Initial sealing | Immediately after laying the paving slabs |
| Maintenance sealing | Every 1-2 years, depending on the wear and tear |